The customer had attempted to replace the LCD themselves, which they succeeded in doing but they were confronted with a blown back-light fuse after the screen replacement.
As with all macbook repairs we start by removing the rear panel first using a pentalobe screw driver, while this is fairly straight forward with the right tools we still need to be careful to turn the screws with minimal of force as they can easily be damaged, particularly if you use the wrong sized pentalobe screw driver.
 |
| Please excuse the glamour shot, can't help showing off sometimes ;) |
The rear panel is held in place using ten screws, after removing them the rear panel can easily be removed.
The first thing we need to do is ensure the battery is not connected as removing the LCD or back-light flex cable while the mac is live can lead to internal damage.
We need to determine whether the no show of the back-light is related to the fuse or something else, after checking the fuse for continuity labeled N in the picture below we deduced the the component was indeed defective. A replacement part is luckily only a couple of pounds from Mouser.com.The part no is 0467003.NR 32V 3A VFA.
We need to determine whether the no show of the back-light is related to the fuse or something else, after checking the fuse for continuity labeled N in the picture below we deduced the the component was indeed defective. A replacement part is luckily only a couple of pounds from Mouser.com.The part no is 0467003.NR 32V 3A VFA.
A word of caution before you proceed with attempting to solder the back-light, unless you are very familiar with soldering very tiny components I would strongly advise letting a company do this repair for you. If you're confident that you have what it takes then lets carry out with the illustrations to arm you with as much information as possible.
 |
| This photo shows the main board with the battery disconnected. |
Once you have isolated the backlight fuse (you can use the close up show of the fuse below to reliability pinpoint it). The replacement fuse we got from mouser is a green one with the initial P instead of N but for all intents and purposes its exactly the same component.
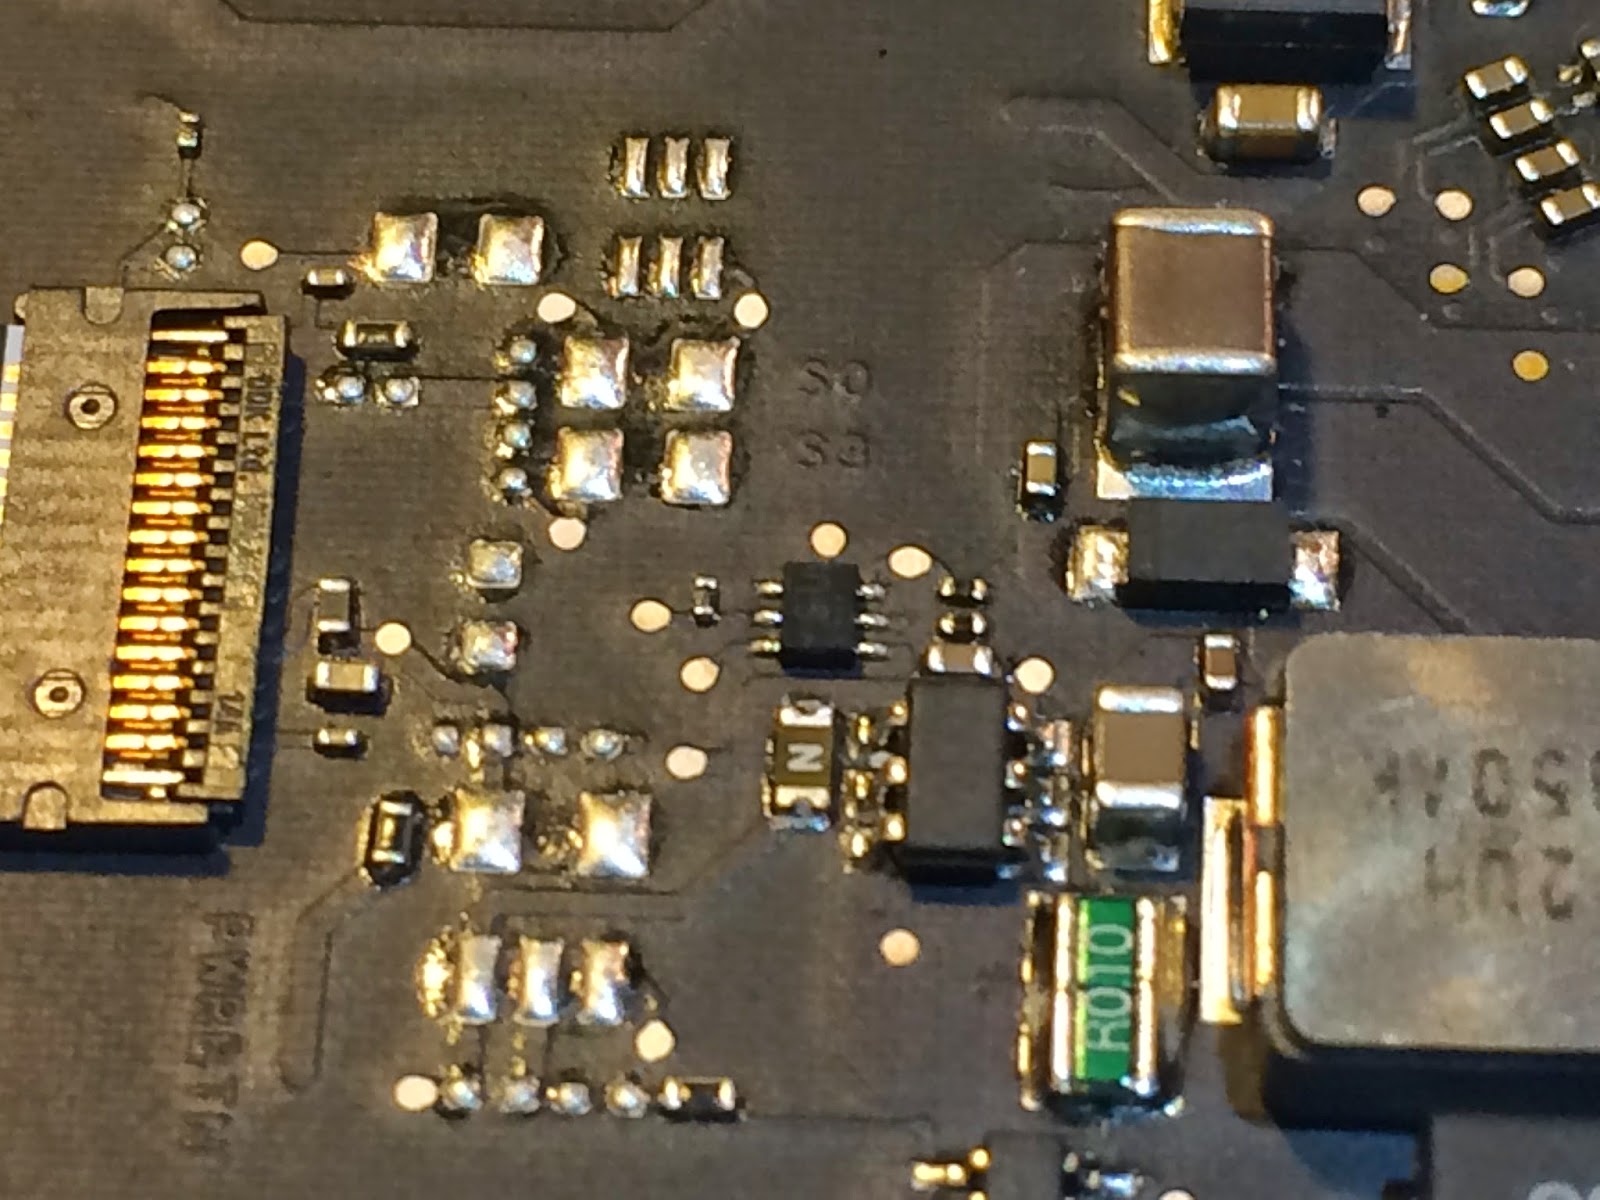 |
| The fuse in question is in the center of the photo labeled N |
You will need a microscope and a fine tipped soldering iron to remove the old fuse. Extreme caution needs to taken in order to not damage the adjacent components. They are sensitive to heat damage so the slightest lapse in concentration will render your Macbook Air irreparable.
The solder used to hold the fuse in place is fairly stubborn so you will probably also need to use a heat gun to soften it up and a fairly heavy shove with a strong pair of tweezers to dislodge it. Again care must be taken not to slip with the tweezers and hit any other parts of the main-board.
 |
| We use a standard microscope to isolate the old fuse. |
 |
| The whole process is shown in the video below |
 |
| This picture shows the fuse after it has been replaced with the green one. |
In order to access the back light flex we need to remove the aluminium frame which will require the adhesive that holds it in place to be gently heated prior to extraction.
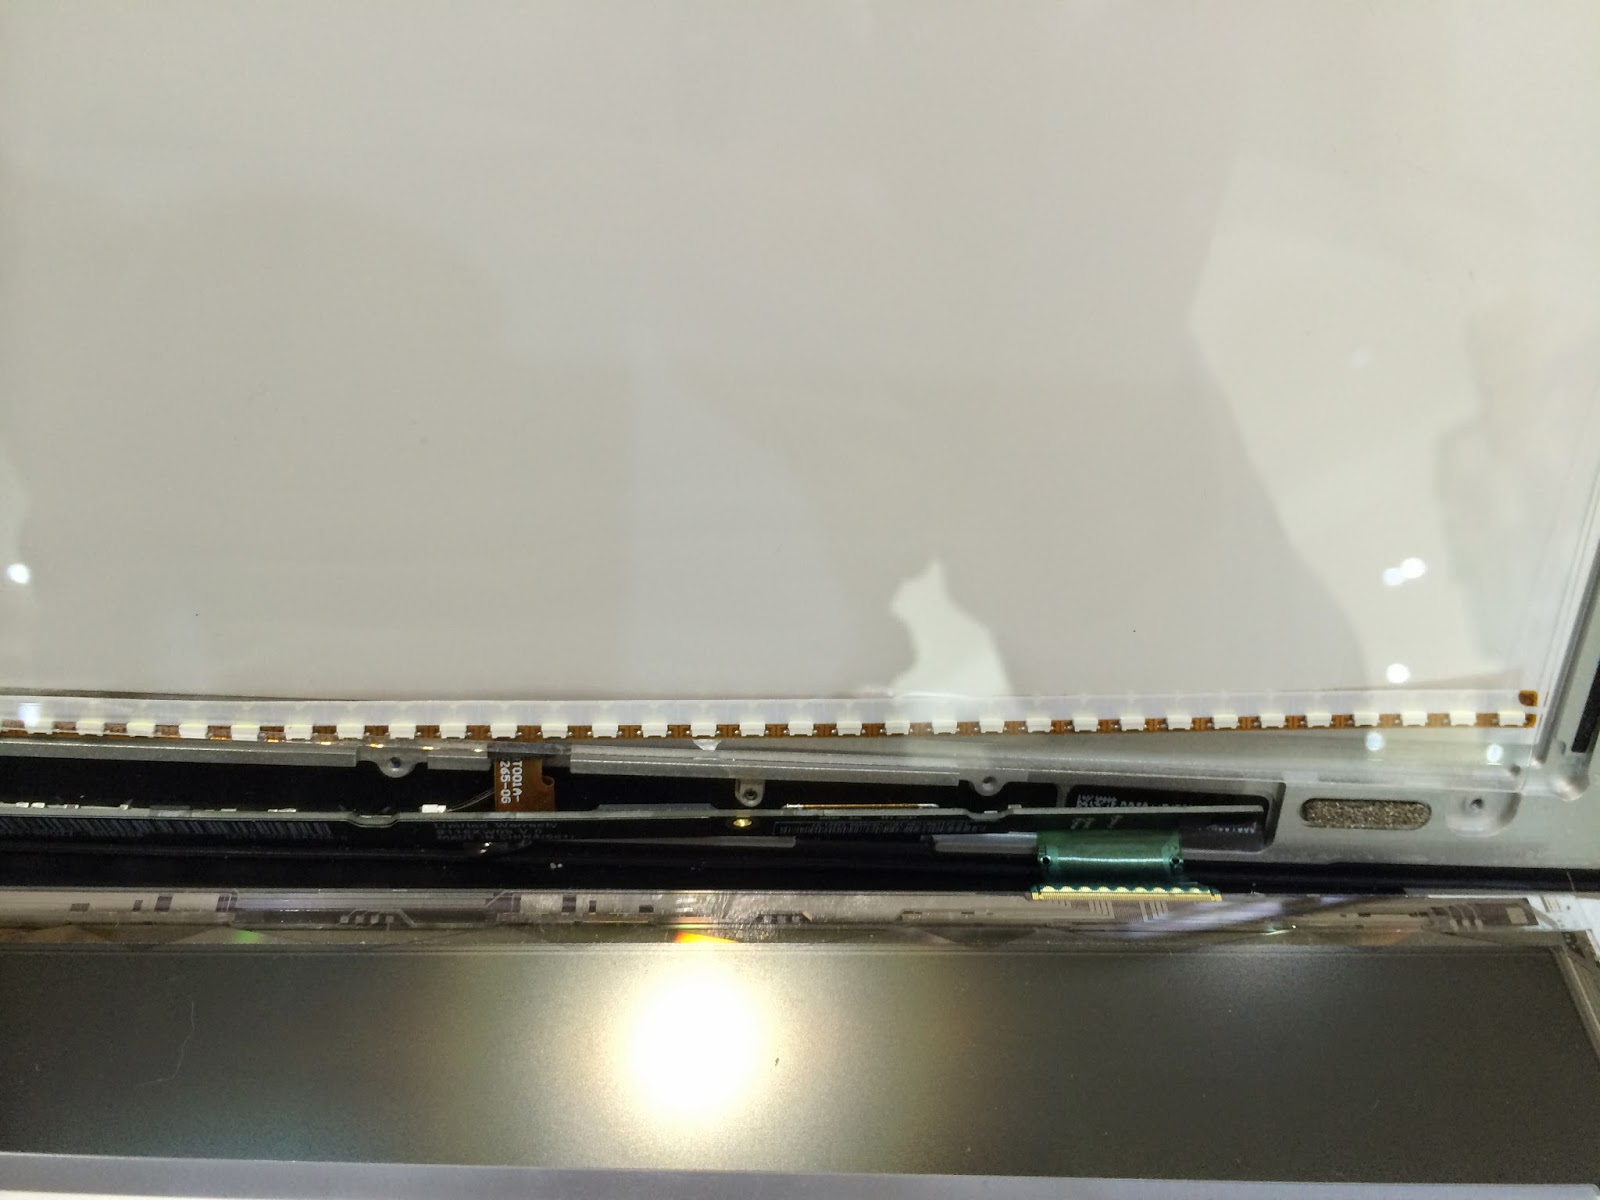 |
| This process is extremely delicate details below |
 |
| another delicate process removal of the old flex |
After replacing the old flex, we are ready to test the back-light to see if it works fingers crossed!
 |
| Another success story! |
To conclude this repair wasn't worth all the effort for the price charged, however it was worth it from a learning perspective. So we are happy.
