Monday, 28 April 2014

iMac A1225 graphics repair

The graphics chip is one of the most common failure points on an otherwise extremely well built and reliable Apple Mac A1225. Our customer brought in this machine complaining that they're mac would not boot past the Apple logo. At first we suspected a hard drive failure until we actually powered up the device.

The tell tale signs of an Nvidia graphics chip failure were obvious and patently apparent immediately. We were present with vertical grey lines and intermittent blurring of the Apple logo. After just five minutes of attempting too boot the fan was blowing at full speed and exiting very hot air after only minimal operation.

Apple iMac A1225 with frozen display


our attack plan was to first reseat the graphics chip and reapply thermal paste while removing any blockages of the fan. We also have our ace card in the form of a new rework station the ACHI IR 6500. We would prefer not to have to resort to such extreme measures if its not absolutely necessary. 

ACHI Model IR 6500 rework station. 


We start as always by removing the glass panel, the glass on modern iMacs is held in place with magnetic blocks contained throughout the outer edge, We do not recommend using anything other than a suction cup to dislodge it, any other tools may scratch the glass or chip the bezel. 

After removing the front panel we are free to remove screws

After removing all the screws you can easily prise the aluminium bezel away, care must be taken not to severe the sensor attached to the middle-top of the bezel. You can use a blade to dislodge it before completely pulling the frame away. 

Now we are ready to remove the LCD
The LCD can easily be removed by lifting it forward, from there you can access the internal ribbon cables and detach each with minimal of effort. Again I would air on the side of caution when removing these as the clips are very flimsy and can easily break. 


LCD removed and ready for cleaning.

Once we have remove the display its time to start cleaning the interior of any dust that has built up, I recommend some gloves as these machines tend to suck in vast quantities of germs. Have some alcoholic wipes/hand sanitiser to hand.


The speakers must be removed before taking out the main board
We can now start methodically removing all the screws holding the main-board in place, these are mostly torx screws so it would be a good idea to arm yourself with the correct tools, we recommend the ifixit toolkit.

removal of screws is cumbersome yet very easy
Once we have detached all flex ribbons its fairly straight forward to start prising the main board away from the chassis. 

removal of main board only requires gentle tugging
after removing the man board, you are free to clean up the rest of the dust and start removing the big heat sink that's held in place by you guessed it yet more torx screws. 

heat sink removal - easy as pie.
We are now ready to reapply thermal compound, while you're in you might as well do the CPU block. We use Arctic Silver. 


Were fairly confident this should have cured the problem, lets boot her up to see what happened

First boot after partial reassembly, indeed we were right, the Mac now boots fully, another happy customer no doubt.  I originally created this blog to help the company I worked for, they are useless and I do not recommend them, take your Apple Mac to mac repair ltd  - Leeds, in Chapel Allerton. 

Wednesday, 9 April 2014

MacBook Air Backlight fuse replacement

In keeping with our tradition of blogging the more interesting repairs we carry out, I would like to share with you the curious case of this Mac-book Air, Model A1370  that came in with a blown back-light.
The customer had attempted to replace the LCD themselves, which they succeeded in doing but they were confronted with a blown back-light fuse after the screen replacement.


As with all macbook repairs we start by removing the rear panel first using a pentalobe screw driver, while  this is fairly straight forward with the right tools we still need to be careful to turn the screws with minimal of force as they can easily be damaged, particularly if you use the wrong sized pentalobe screw driver.

Please excuse the glamour shot, can't help showing off sometimes ;)

The rear panel is held in place using ten screws, after removing them the rear panel can easily be removed.
The first thing we need to do is ensure the battery is not connected as removing the LCD or back-light flex cable while the mac is live can lead to internal damage.

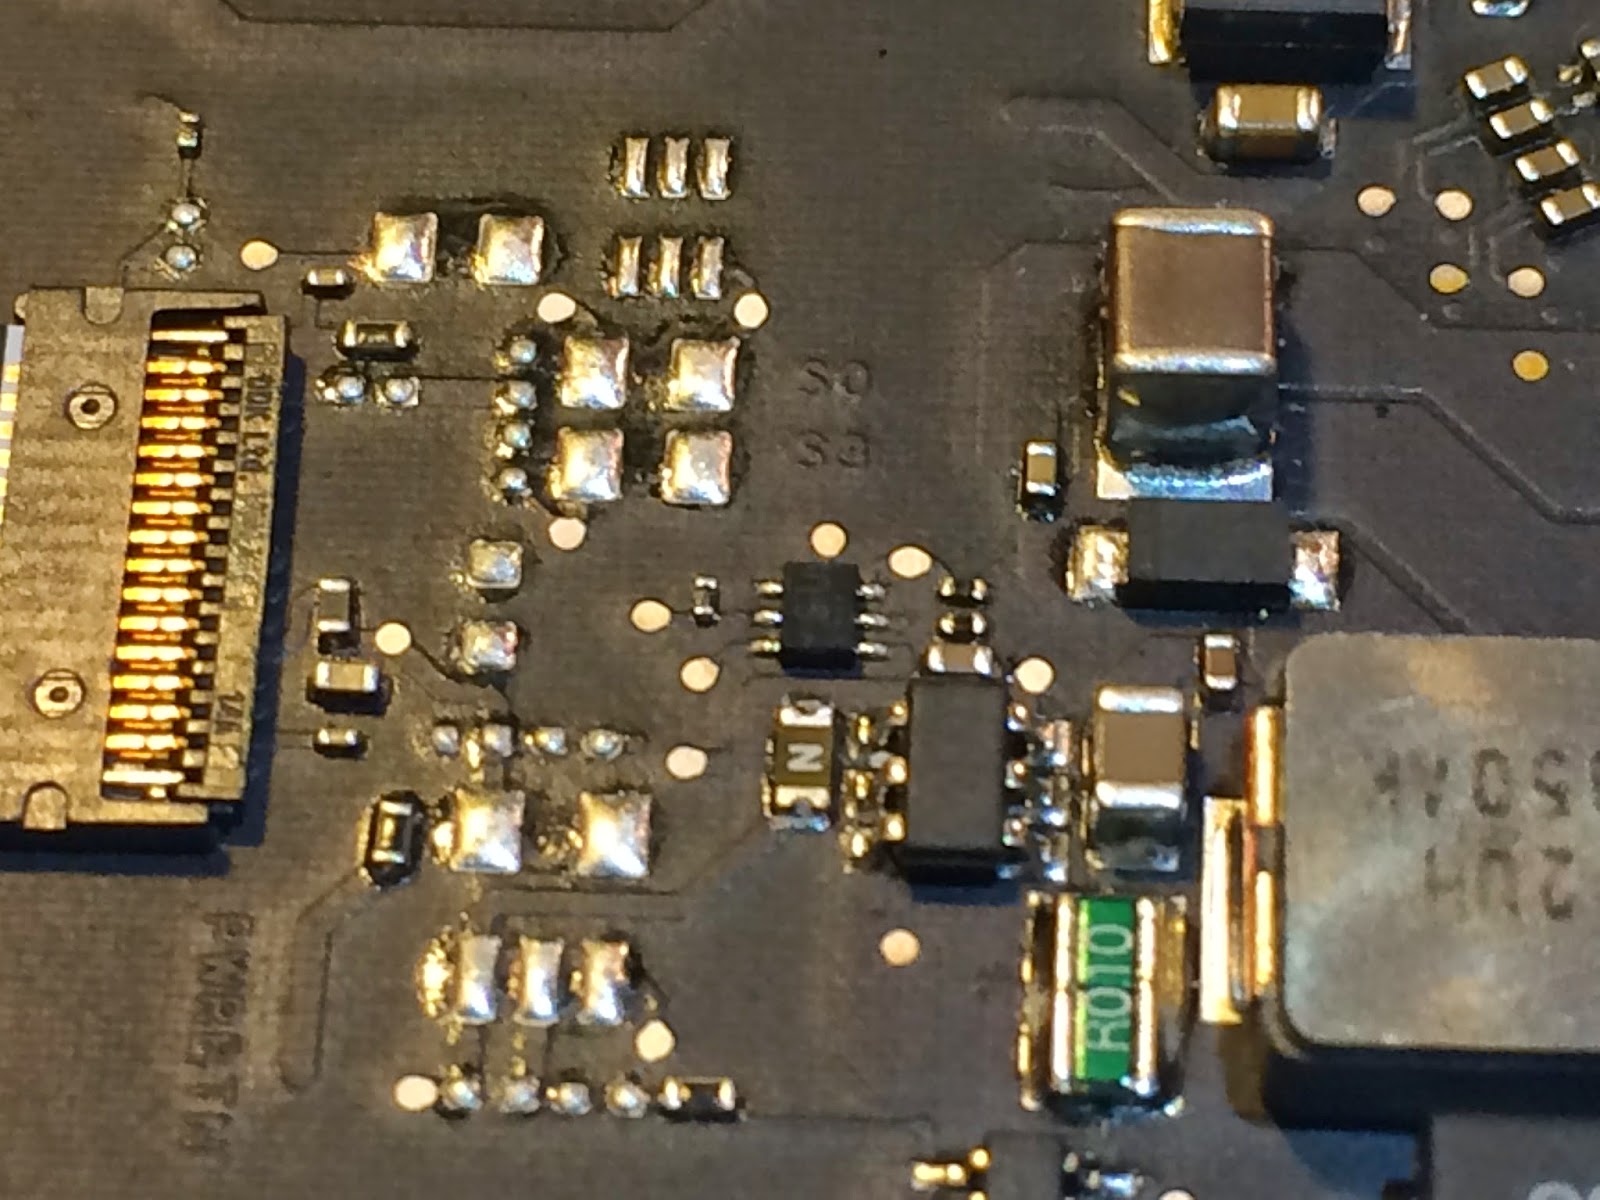
We need to determine whether the no show of the back-light is related to the fuse or something else, after checking the fuse for continuity labeled N in the picture below we deduced the the component was indeed defective. A replacement part is luckily only a couple of pounds from Mouser.com.The part no is  0467003.NR 32V 3A VFA. 


A word of caution before you proceed with attempting to solder the back-light, unless you are very familiar with soldering very tiny components I would strongly advise letting a company do this repair for you. If you're confident that you have what it takes then lets carry out with the illustrations to arm you with as much information as possible. 


This photo shows the main board with the battery disconnected.


Once you have isolated the backlight fuse (you can use the close up show of the fuse below to reliability pinpoint it). The replacement fuse we got from mouser is a green one with the initial P instead of N but for all intents and purposes its exactly the same component.
The fuse in question is in the center of the photo labeled N
You will need a microscope and a fine tipped soldering iron to remove the old fuse. Extreme caution needs to taken in order to not damage the adjacent components. They are sensitive to heat damage so the slightest lapse in concentration will render your Macbook Air irreparable.

We use a standard microscope to isolate the old fuse.

The solder used to hold  the fuse in place is fairly stubborn so you will probably also need to use a heat gun to soften it up and a fairly heavy shove with a strong pair of tweezers to dislodge it. Again care must be taken not to slip with the tweezers and hit any other parts of the main-board. 
The whole process is shown in the video below


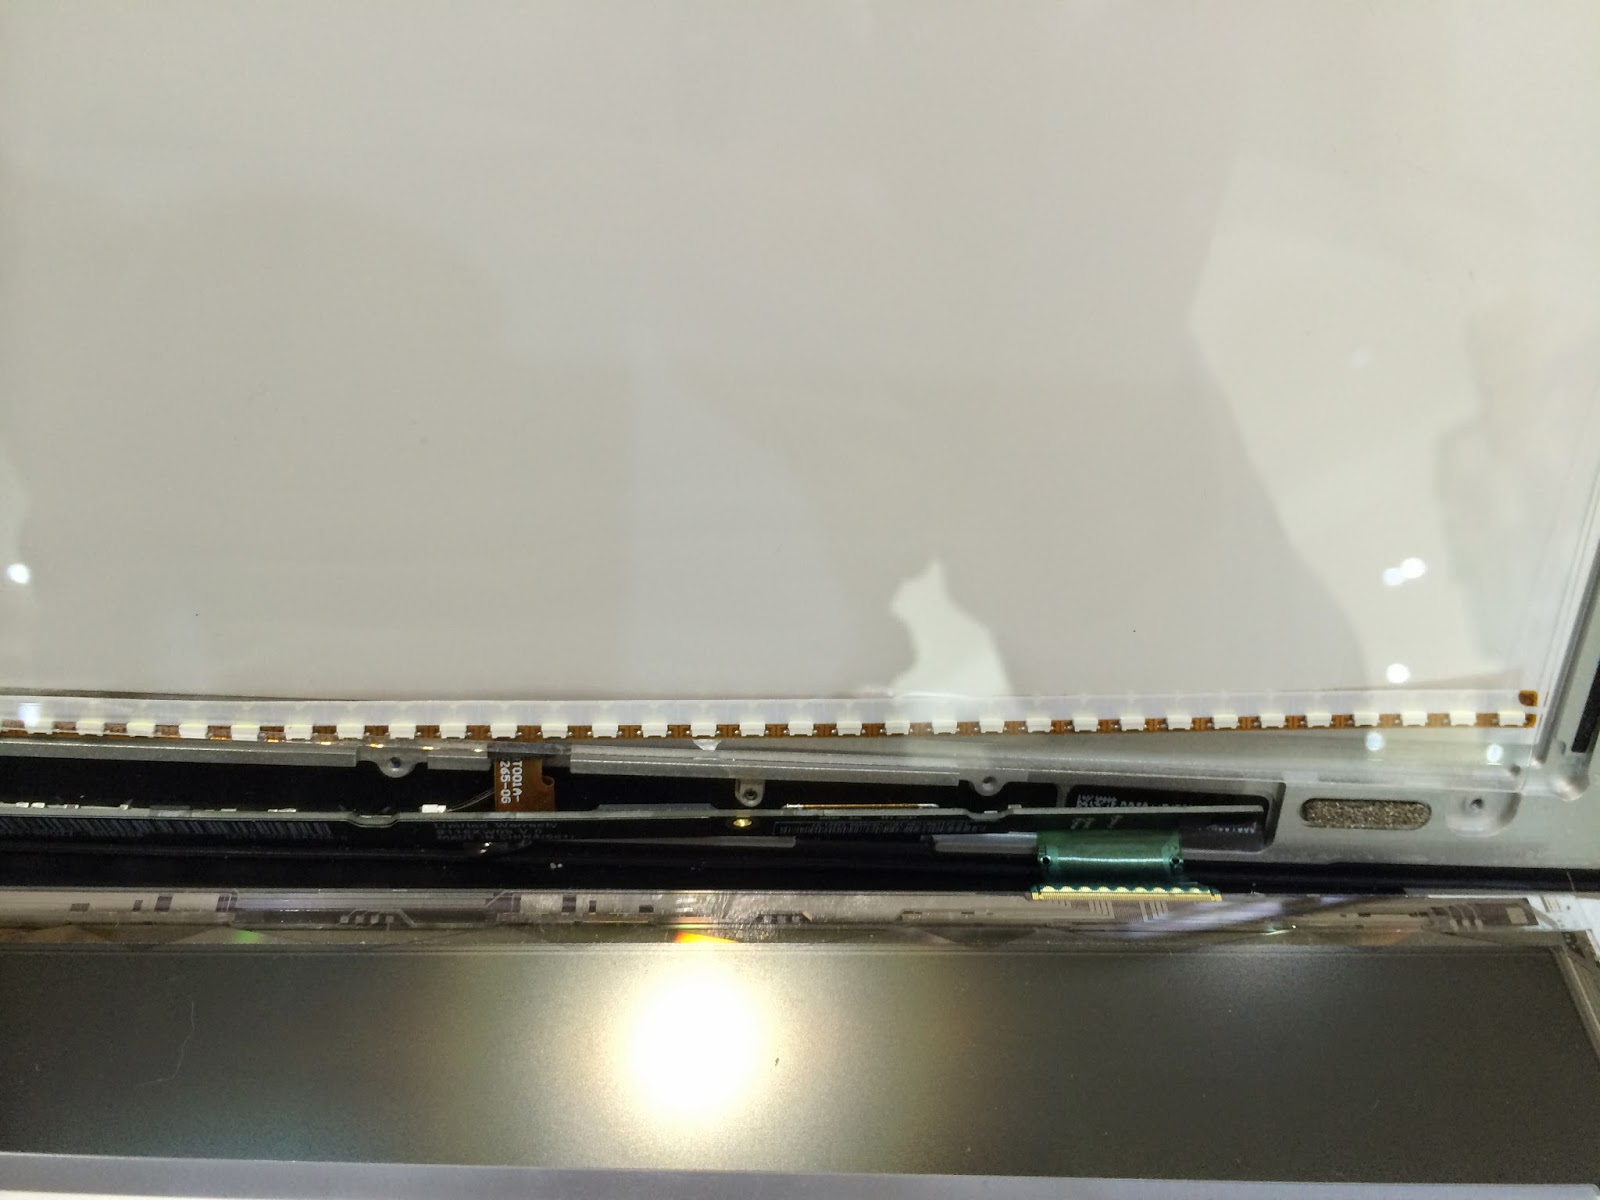
After replacing the fuse the backlight on this mac-book air still would not work, after check and rechecking everything we were able to trace the problem to a micro tear in the flex ribbon attached to the back-light strip which is present in the top unit. This repair has now become a mountain of work, due to my stubbornness I was determined to make it work, the customer was not going to be charged any extra for the considerably more effort required. We were able to get a working backlight strip from one of the macbooks I have left over for parts.

This picture shows the fuse after it has been replaced with the green one. 


In order to access the back light flex we need to remove the aluminium frame which will require the adhesive that holds it in place to be gently heated prior to extraction.

This process is extremely delicate details below
In order to remove the backlight strip you must first remove the LCD, anyone who has worked on the macbook air will know the LCD is paper thin and the slight bit of pressure can lead to its fracture. Not only that but the three sheets behind it consisting of the polariser and anti glare sheet and back-light film will become unusable at the slightest of touches or scratches. You should wear  gloves and not bend the sheets. 


another delicate process removal of the old flex

After replacing the old flex, we are ready to test the back-light to see if it works fingers crossed!


Another success story!

To conclude this repair wasn't worth all  the effort for the price charged, however it was worth it from a learning perspective. So we are happy.